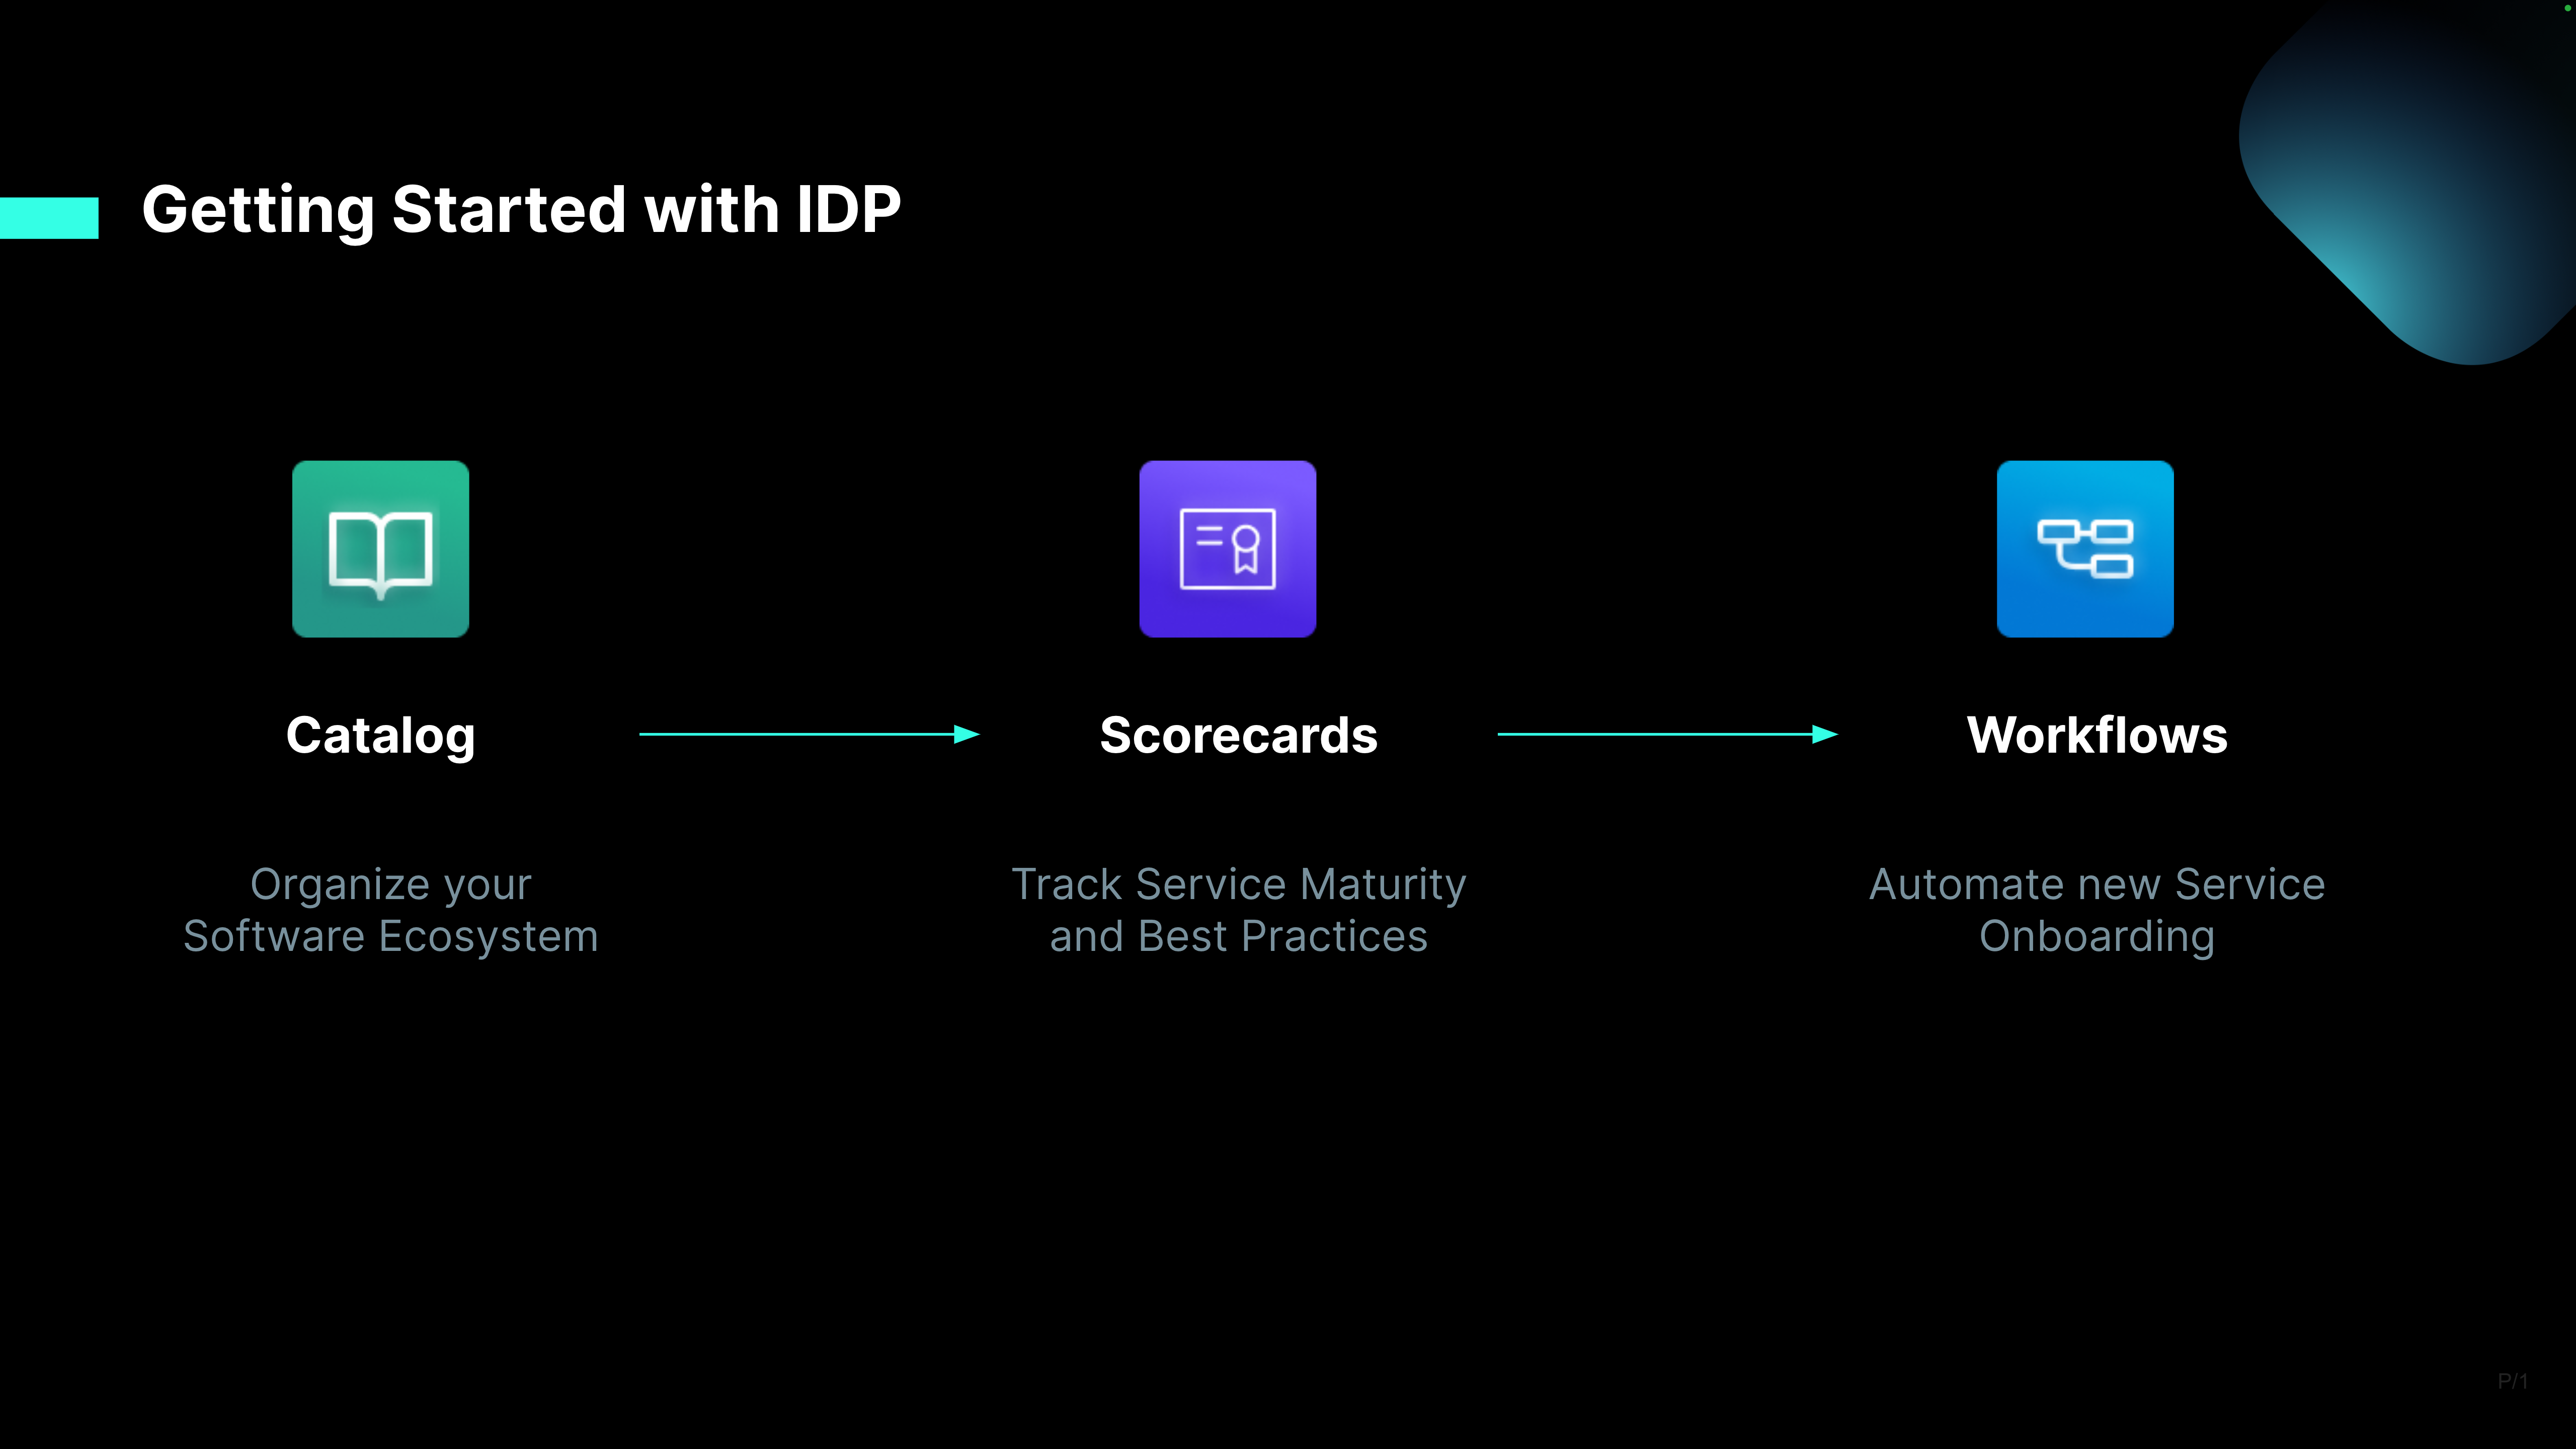
Get started with IDP
Welcome to the Internal Developer Portal (IDP)! This Get Started with IDP section will guide you through the key steps to get started with the IDP and make the most of its capabilities.
If you're using Harness IDP 2.0, please ensure you have reviewed the IDP 2.0 Overview guide and are familiar with the key steps for upgrading to IDP 2.0. To enable IDP 2.0, you must raise a support ticket to activate the IDP_2_0 feature flag for your account.

1. Enable the Module
The first step to getting started with the IDP is enabling the module in your Harness Account. Currently, this module is enabled on request.
2. Configure IDP
Once the module is enabled, the next step is to configure the IDP. This includes setting up Git integrations by the platform admins.
3. Get Started with Catalog
The IDP's catalog serves as a centralized repository for all your software components. Learn how to add a new component to the catalog, ensuring that it is properly discoverable, and managed within the portal.
4. Enable a Plugin
Enhance the functionality of the catalog by enabling plugins. These plugins provide additional features and integrations with third party tools like PagerDuty etc. Learn how to configure plugins.
5. Get Started with Scorecards
Now that software components are registered and plugins are enabled. Learn how to set up and use scorecards to ensure your organization's standards are tracked and maintained.
6. Enable Documentation for Your Component
Learn how to enable and manage documentation for your components directly within the IDP.
7. Get Started with Workflows
Workflows can be used to automate and manage processes within your organization. Learn how to create, configure, and execute workflows.
8. Configure RBAC
Configure RBAC to control who can view and access your IDP resources. Harness IDP 2.0 introduces scope-aware permissions aligned with Harness Projects, Organizations and Accounts.